How To Layer Images In Squarespace Using CSS

So you’ve been looking for web design inspiration and you’ve come across all those super snazzy websites that have all that layering and overlapping shenanigans going on. It’s safe to say that the layering effect is definitely trending in web design and for a good reason. Layering your web design elements creates a dynamic and exciting layout. It also gives depth to the computer screen.
So if you’ve made your way to this particular blog post, I’m guessing you are wondering how in the heck to do it!
There is actually multiple ways to create a layering effect! One way is by using Canva to create a design with layered elements, save it as an image, and upload it as a background. From there you can add other images or image blocks on top.
Another way is by adding some pretty simple code. There are a few reasons why I would recommend using code. It is best to try and ensure all the elements on your site are ‘live’. This, basically, means that all of the elements on your website are in their purest form and are native to your site. This ensures that your website is interactive and responsive. At the end of the day, these are the two most important elements of web design. Oh, and SEO! Having each photo uploaded separately will ensure better search engine optimization.
Another reason is that if you are designing for someone else. Using code will make it easier for them to make changes and manage their site on their own instead of having to open up Canva or Photoshop every time they want to change something on their site.
With that being said, we need to make sure our code isn’t too complicated. Squarespace advises against using complicated code because it could possibly interfere with their native code. But Don’t worry, the code I will be sharing with you today, is about as easy as it gets!
So finally, let’s get started with how exactly to layer images using a bit of CSS. For this tutorial, you will want to add the Squarespace Id Finder extension to your browser.

Start by creating a layout that is staggered and contains at least two images. If you want to create a layout like this one I have used in my examples, It is composed of just a header text box, and image to the right of the text box, and an image under the text box. Now let’s overlap those images!

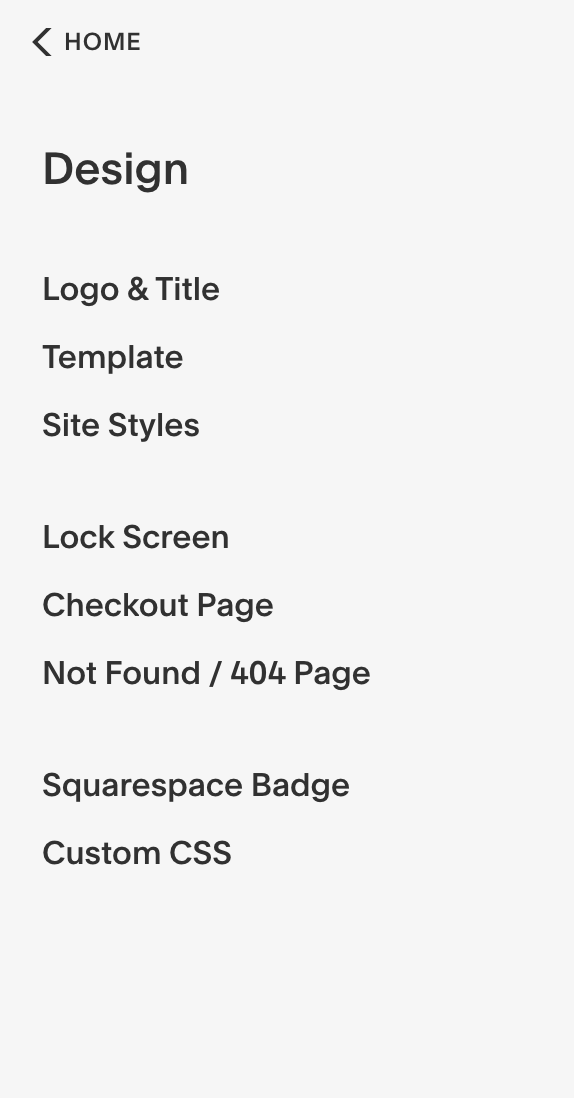
Next, you’ll want to find the custom CSS window. You will find it under the design tab in the home menu.

Next, activate your Squarespace ID Finder by clicking on it in the toolbar of your browser. This tool is important for adding your CSS. It will allow you to identify every single element on your website and reference it in your CSS. Once you have it activated it should look something like this —

copy and paste this code into your custom CSS window. Replace ‘#block-id’ with the id from the Squarespace Id Finder with one of the images you want to move. In this case, it will be easier to move the bottom photo. To copy the id all you have to do is click on the box directly above the image.
#block-id {
  position: relative;
  margin-top: 30px;
  margin-left: 90px;
  margin-right: -90px;
  z-index: 1
}
You should end up with something that looks a little like this — I have also made adjustments using spacers. Feel free to experiment and play around with the different elements and spacing until you find something you like. Remember it doesn’t have to look like mine!

Also try experimenting with the code until you find a layout you like. Don’t be afraid of adjusting the code. If something is messed up, just go back to the original and try again! Here are some tips about adjusting the code — By adjusting the margins, you are adjusting the space from the edge of the web page. The z-index controls the order of the layering. If you set the z-index to 0. The image that you are referencing with switch to the back. Can you spot the difference?

You can also add to your code. Maybe you would like to add a background on your images. Don’t forget to replace ‘#block-id’ with the corresponding image id you would like to add code to.
#block-id {
  background: white;
  padding: 10px;
  position: relative;
  margin-top: 30px;
  margin-left: 90px;
  margin-right: -90px;
  z-index: 1
}

#block-id {
  background: white;
  padding: 10px;
}

To optimize your layout for mobile use this code:
@media only screen and (max-width: 768px) {
}
Copy and paste this code into your CSS the inside the brackets copy the code you created from the tutorial. By using the code above - you can create a different layout for mobile by editing the original code from the tutorial. If you want, you can also just remove one of the photos that is layered. With this code:
@media only screen and (max-width: 768px) {
#block-id{
display: none;
}
}
Yay! now you are on your way to having a dynamic and attention-grabbing web design layout that will wow your visitors while keeping your site interactive and optimized! If you are interested in learning more code snippets or other Squarespace tips, feel free to take a peek at my other Squarespace Blog Posts. If you have questions or have ideas for other tricks you would like to learn, drop a comment below!
If you are thinking that even with these tips you’ll never be able to pull it off, I get it. It can be overwhelming and it’s okay! That’s what web designers are for. Feel free to check out my services page to see how I might be able to help you while you are kicking a** at building and running your business!